
I have been searching for a sewing chair that doesn’t break my back (or the bank). I did order the cutest chair from O.co, but it arrived slightly damaged. After a laborious saga with their customer service, they did refund me the money and told me to keep the chair. So, being unable to find another chair that fit my cute, yet comfy mantra, I decided to make this chair work, I mean, it was free, right?
I first started out by trying to use a pillow behind my back. It helped, but every time I moved, wiggled or got up, the darn thing fell out and Fezzik (my puppy sewing buddy) thought it was a bonus lounging cushion just for him. The pillow was a step in the right direction, just not the final answer. I decided to look at our local office supply big box store to see what type of lumbar support cushions they have. The answer was – none. All of that is ordered online, which means you can’t try before you buy, and they were all so….ugly. I had searched and searched to find a cute chair, how could I plop such an ugly cushion on my super cute chair? Fashion can be painful, my friends.
This led me to my next thought, “I’ll just make my own pillow! And it will be cute!” I think I succeeded and here is what I did!
What you need:
5/8 yard of main fabric
1/4 yard accent fabric for tie backs
Filling – I used shredded foam
What I did: (I used a 1/4″ seam)
Main Fabric:
Cut two – 12 x 16 1/2″ rectangles
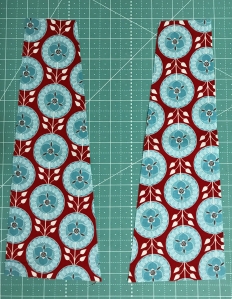
Then cut two – 4 1/2 x 16 1/2 pieces. I trimmed them so the top was 2 1/2″ and bottom was 4 1/2″ creating an angle.
From the remaining main fabric cut:
One – 4 1/2″ x 16 1/2″ strip (for the bottom)
One – 2 1/2″ x 16 1/12″ strip (for the top)
From the accent fabric:
Two – 4″ WOF strips
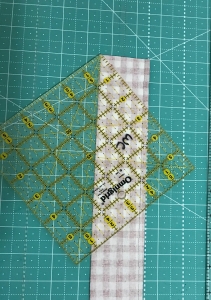
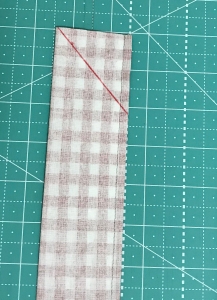
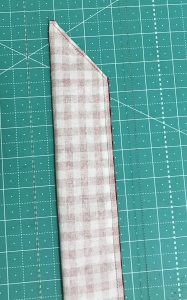
Take your accent strips, fold right sides together and create a tube. Once done, cut your tubes in half. You now should have four tubes. Lay your tube on your cutting mat and mark a three inch angle on each end. Sew directly on this line. Cut off excess fabric and turn your tube right side out. Iron it flat.
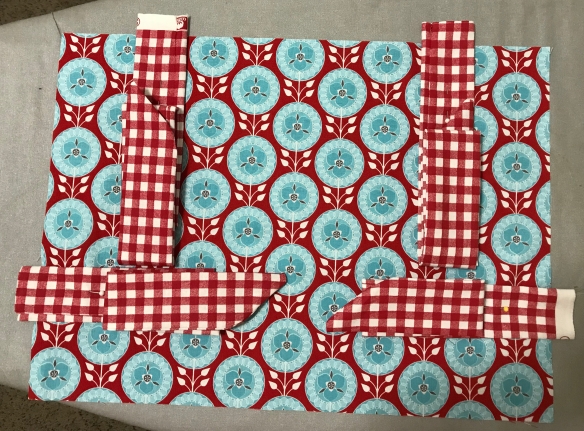
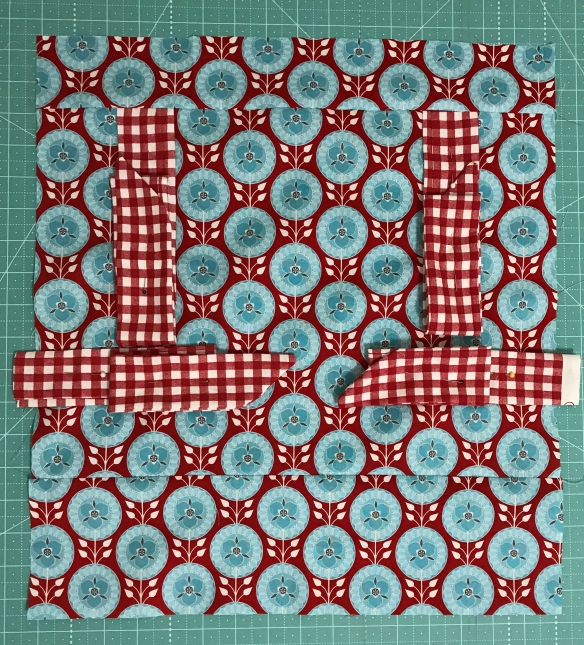
Pin your ties to the right side of one of the 12 x 16 1/2″ body pieces. Pin it 2 1/2″ from the corners. Fold up the excess tie and pin it down so you don’t catch it while sewing.
Sew the 2 1/2 strip to the top of your body and the 4 1/2″ strip to the bottom.
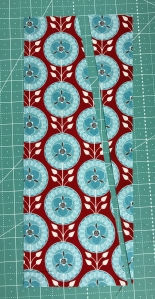
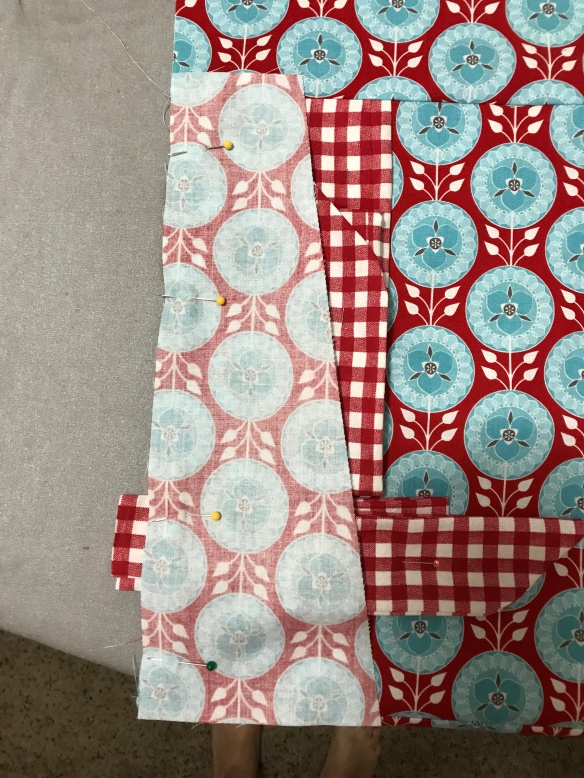
Pin your angled sides to the body, right sides together. Make sure the 2 1/2″ piece is at the top. Sew that together.
Now sew the top and the bottom right sides together, leave a 4″ opening in the center for stuffing. I forgot to take a picture of this!
Next, pin your sides together and sew! When you’re done it should look like this:
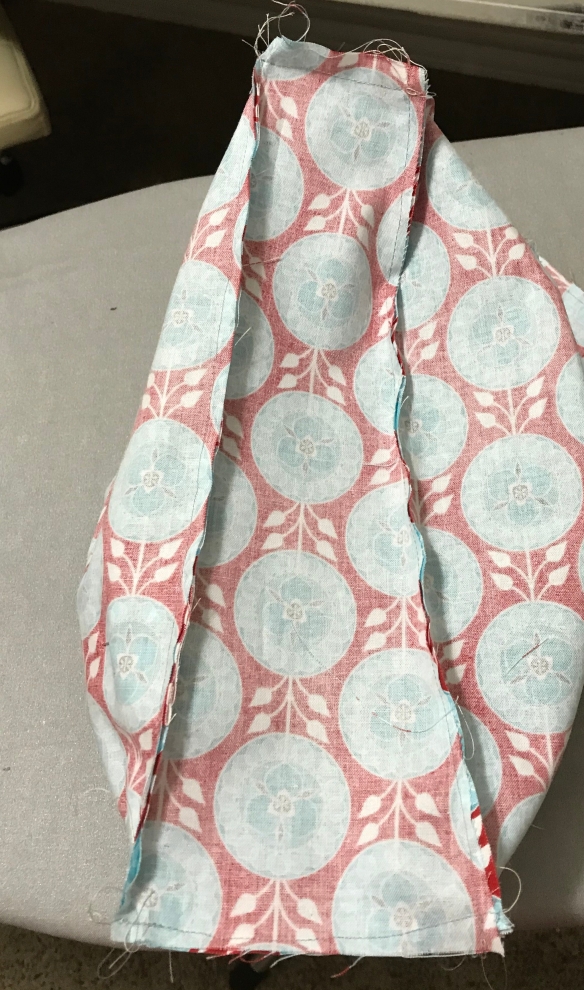
Turn your piece right side out, stuff and hand stitch the opening closed! Viola! You have a super cute support cushion for your chair.
A note on the stuffing- I used ripped foam that came in a bag at my local craft store. My husband has a My Pillow, and this ripped foam is very similar to what is in his pillow. I thought it would add more support than traditional stuffing. I like the “bounce” it gives and it doesn’t flatten like a traditional pillow. Fair warning though, working with it is messy but it does vacuum up nicely.
I hope you’ve enjoyed this tutorial! Please let me know your thoughts and I’d love to see your super cute support pillow!
Wendy
